


Installing a Home Vehicle Charger - step by step
With the growing popularity of electric cars, more and more people are choosing to install home chargers to conveniently charge their vehicles. Installing a home charger is an investment that enhances the comfort of using an electric car, saves time, and can help reduce charging costs. In this article, we will walk you through the steps of installing an electric vehicle charger at home.
Step 1: Choosing the right charger.
The first step is to choose the right charger that will meet your needs. There are various types of chargers available on the market, including mobile chargers and stationary Wallbox chargers. When selecting a charger, consider the following:
- Charging Power. Chargers with a power output of 7 kW or 11 kW are popular in home installations.
- Connector Type. Ensure that the chosen charger is compatible with your car.
- Additional Features. Some chargers offer features such as remote control via an app, energy consumption monitoring, and safety functions (e.g., overheating protection).

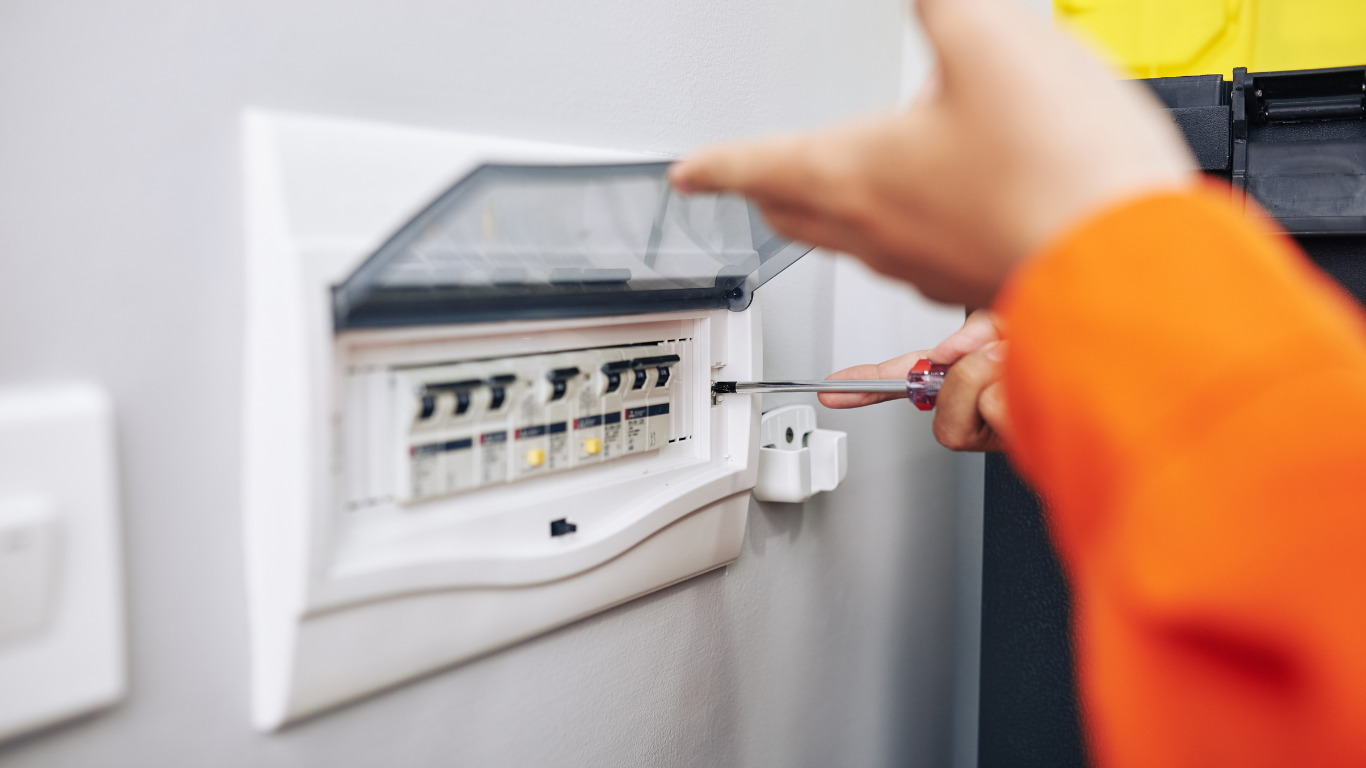
Step 2: Checking the Electrical Installation.
Before installing an electric vehicle charger at home, it is essential to thoroughly check the condition of your electrical installation. Contacting a qualified electrician is crucial to assess whether your installation can handle the additional load associated with the charger. The electrician will conduct an inspection to identify any potential issues and ensure that the installation meets all safety standards.
Depending on the power of the charger you plan to install, it may be necessary to adjust the existing electrical installation. For example, higher-power chargers, such as 7 kW or 11 kW units, may require a higher capacity connection. This could mean upgrading the electrical infrastructure in your home, which might include increasing the connection capacity, modernizing the distribution board, or installing new electrical wiring.
Adapting the installation may also involve installing appropriate safety devices, such as residual current devices (RCDs) and miniature circuit breakers (MCBs), which protect against electric shock and overloads. These steps are crucial to ensure safe and reliable charging of your electric vehicle.
Step 3: Choosing the Installation Location.
The next step is to choose the location where the charger will be installed. This decision significantly impacts the convenience of using the charger daily. Chargers are most commonly installed in garages, driveways, or other convenient locations close to where the car is parked. It is essential that the installation site is easily accessible and safe.
- Garage. Installing the charger in a garage is one of the most popular options. The garage offers protection from the elements, which can extend the life of the charger and provide a safe charging environment. In a garage, it is easy to run cables and mount the charger on the wall near the parking spot. This setup makes connecting the vehicle for charging quick and convenient.
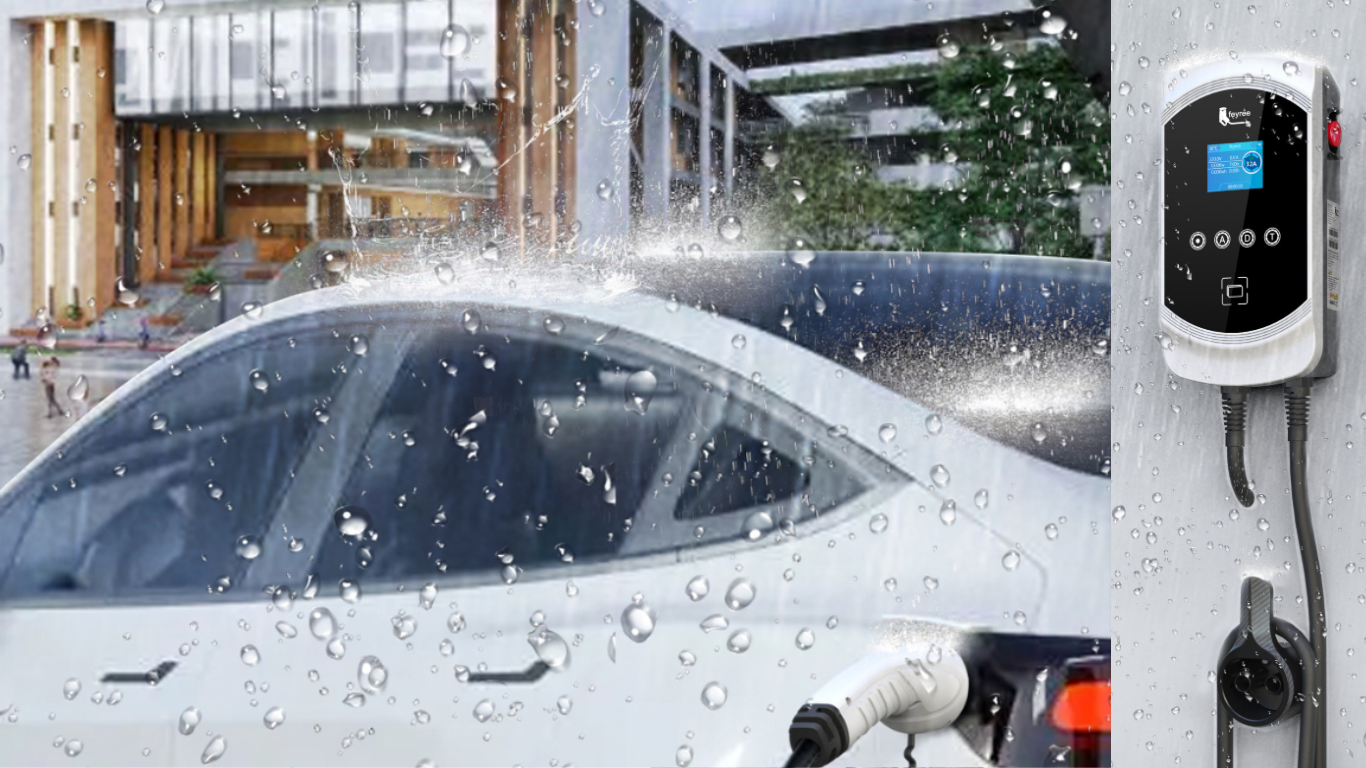
- Driveway. A driveway is another popular location for a charger, especially if you do not have a garage. Installing a charger on the driveway requires ensuring it is protected from the weather, for example, by mounting it in a special enclosure or under a shelter. Similar to a garage, it is crucial to mount the charger close to the parking spot to facilitate daily charging.
- Other Convenient Locations. If neither a garage nor a driveway is an option, consider other convenient spots on your property. This could be a side wall of the house, a gazebo, or a specially prepared parking space. It is essential that the chosen location is easily accessible and safe. Cables should be properly secured to avoid accidental damage, and the charger itself should be protected from external factors.
- Accessibility and Safety. Regardless of where you decide to install the charger, it is important that the installation site is easily accessible. Ensure that you can easily connect the car to the charger, even if the space is limited. Additionally, provide appropriate security measures, such as theft deterrent locks and protection against accidental damage.
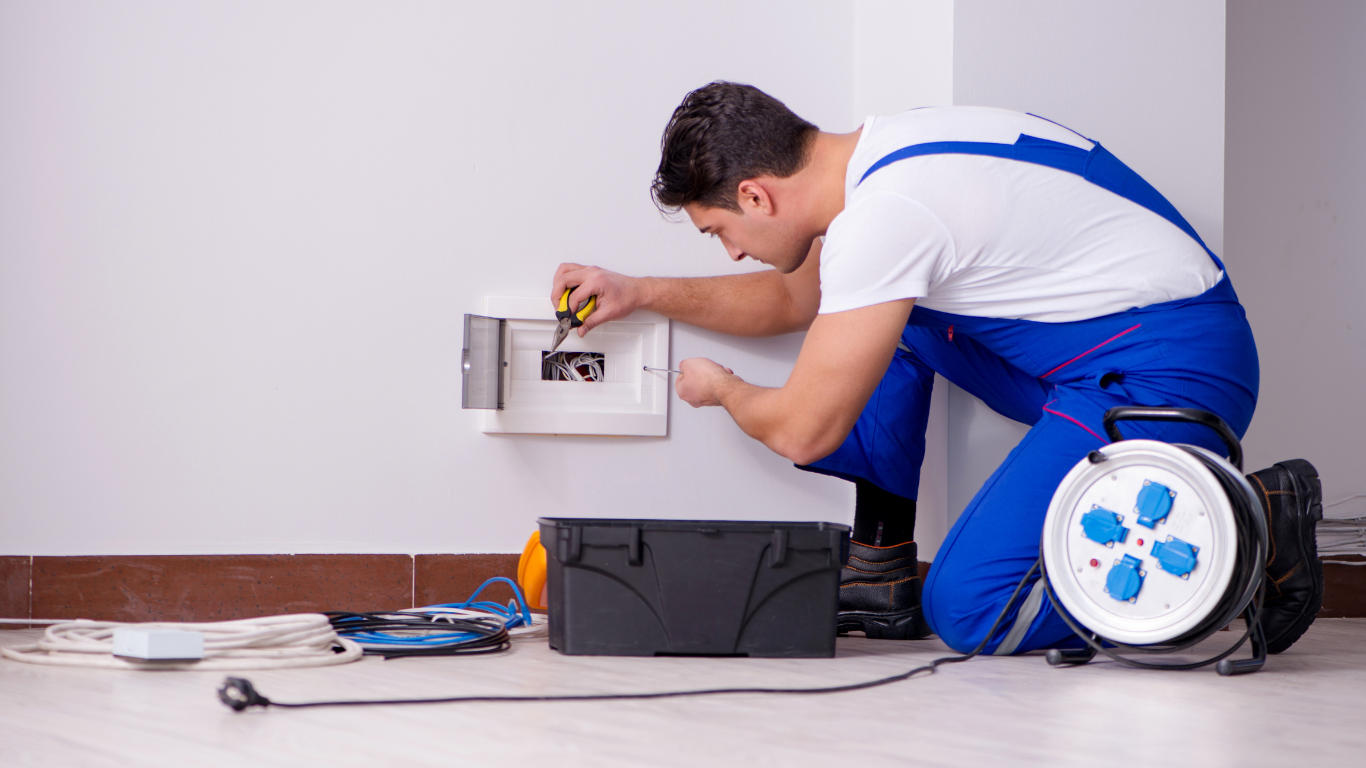
Step 4: Installing the Charger.
After choosing the right charger, checking the condition of your electrical installation, and selecting a convenient location for installation, it is time for the actual installation. This process should be carried out by a qualified electrician to ensure that the installation is safe and complies with current standards.
- Mounting the Charger. The first step in the installation is to mount the charger on the wall or in another chosen location. The electrician will ensure that the charger is securely attached to prevent accidental damage. It is important that the installation site is easily accessible and allows for seamless connection of the vehicle for charging. If the charger is mounted outdoors, it should be adequately protected from weather conditions.
- Connecting to the Electrical System. Next, the electrician will connect the charger to your home's electrical system. This step requires care and precision to ensure that the charger operates correctly and safely. The electrician will run cables from the main electrical panel to the charger installation site. It is crucial to use cables of appropriate thickness to handle the current needed for charging the electric vehicle.
- Electrical Safety Measures. During the connection process, the electrician will install appropriate electrical safety devices, such as residual current devices (RCDs) and miniature circuit breakers (MCBs). The RCD provides protection against electric shock by monitoring the difference in current between the phase and neutral wires. If a leak or short circuit is detected, the RCD will immediately cut off the power, protecting users and the installation. The MCB protects against overloads and short circuits that could damage the charger or electrical installation.
- Testing and Verification. After completing the mounting and connection, the electrician will perform tests to ensure that the charger is working correctly. These tests include checking all electrical connections, the functionality of the charger, and the operation of safety devices. The electrician will also verify that the charger communicates properly with the electric vehicle and that the charging process proceeds as expected.
- User Instructions. Finally, the electrician should provide instructions for using the charger and explain how to safely and efficiently operate the device. It is important to familiarize yourself with the recommendations for regular maintenance and monitoring of the charger's technical condition to ensure its long-term and trouble-free operation.
Step 5: Configuration and First Charging.
After installing the electric vehicle charger, the next important step is to configure it and perform the first charging session. This process ensures that the device operates correctly and is ready for daily use.
Configuration includes updating the software to ensure optimal performance and access to the latest features, as well as setting preferred charging parameters such as maximum charging power, charging schedules, and battery charge limits.
Modern chargers often offer remote control functions via a mobile app. Configuring these functions involves connecting to the manufacturer's dedicated app, which allows you to remotely monitor the charging process, check the charging status, and manage the device settings. It is also possible to set up energy consumption monitoring options, which allow you to track the amount of energy used, charging costs, and analyze charging efficiency. The app can provide notifications about the start and end of charging, as well as any issues or errors.
Before starting the first charging session, it is necessary to perform tests to ensure that all electrical connections are correct and safe. A test charging session should also be conducted to verify that the charger communicates properly with the electric vehicle and delivers the appropriate power. Verification also includes checking the operation of all safety devices, such as residual current devices (RCDs) and miniature circuit breakers (MCBs).
After completing the configuration and tests, you can proceed with the first charging session of your electric vehicle. Connect the charger cable to the charging port on your car and ensure that the connection is secure and safe. Turn on the charger and monitor the charging process using the app or the charger's display, regularly checking the charging status.

Step 6: Regular Maintenance.
Regular maintenance of your electric vehicle charger is crucial to ensure its reliability and long-term operation. The first step is to keep the charger clean. Maintaining it free from dust and dirt helps preserve its functionality and aesthetics. Regularly remove any dirt from the surface of the charger, especially from areas that may accumulate dust and other debris.
Another important aspect of maintenance is checking the condition of the cables. Ensure that the cables are not damaged, cut, or crushed. Damaged cables can lead to charger malfunctions or even pose a safety hazard. If necessary, consult an electrician to replace any damaged cables.
Regularly testing the operation of the charger is essential to ensure that all functions are working correctly. Check if the charger properly charges the car, monitor the LCD display, and use the mobile app if available to track the charging process. Pay attention to any irregularities such as unusual noises, intermittent charging, or errors displayed on the screen.
It is also important to conduct periodic inspections by a qualified electrician. An electrician can perform more detailed tests and maintenance to ensure that the charger operates according to safety and performance standards. Regular inspections can prevent potential problems and extend the lifespan of the device.

Summary.
Installing a home electric vehicle charger is a key step towards a more sustainable and convenient lifestyle. It is an investment that brings numerous benefits, both financial and ecological. With your own home charger, you gain independence from public charging stations, allowing you to charge your vehicle at your convenience, often at lower costs, especially if you use night tariffs or your own renewable energy sources, such as solar panels.
Choosing the right charger model, having it professionally installed, and maintaining it regularly are crucial to ensuring its long-lasting and trouble-free operation. The installation process includes an assessment of the electrical system by a qualified electrician, installing the charger in an optimal location, and thoroughly configuring the device. Properly conducted installation and configuration guarantee that the charger will operate efficiently and safely.
Equally important is the regular maintenance of the charger. Keep it clean, check the condition of the cables, and regularly test its operation to avoid potential problems and extend its lifespan. Regular inspections by a specialist will help detect and eliminate any faults at an early stage, preventing major breakdowns and additional repair costs.


